Monday, May 6, 2013

Spring Cleaning {organizing the fridge}

After getting some inspiration from Jen I really got the bug to reorganize and clean up my own fridge.
 I was so drawn to all the pretty labels and containers she used but, like she said, it didn't feel conducive to an easier life; which, after all, is the entire purpose of organizing. Apart from that, I felt there had to be a better way to designate specific areas of the fridge to certain things without committing to specialized labels that I would either A. have to pull off and replace later (and wasting money/ materials by doing so) or B. only use when that type of item was in the refrigerator.

So, there I was, in dire need of a fridge makeover (and cleaning!) but lost on how to go about making it happen in a hassle free way and without costing me an arm and leg (anyone else biting nails at BPA free Tupperware prices?). After about a month of coming up with little to no ideas, I all but gave up on my hopes to have an organized fridge.
That's when I found these babies at Staples

Chalkboard sticky labels. Even better than finding them was their price tag! $6 for 15 of them! HOLAA! So, with a bit of cash in my pocket and a renewed devotion to getter done, I headed out to find containers to slap these suckers on. Eight bucks and a bit of elbow grease later I was left with a happy, cleaned, and most impotently, organized fridge!
Like under my bathroom sink , I grabbed most of the containers from the dollar tree, the rest I already had.

Here is a closer view at what this beast looked like prior to getting its act together.
Note the overly crowded bottom shelf and the overly packed butter compartment which, at the time, was packed with old, bad cheese...eww (did I mention that it was in serious need of a cleanup?!).
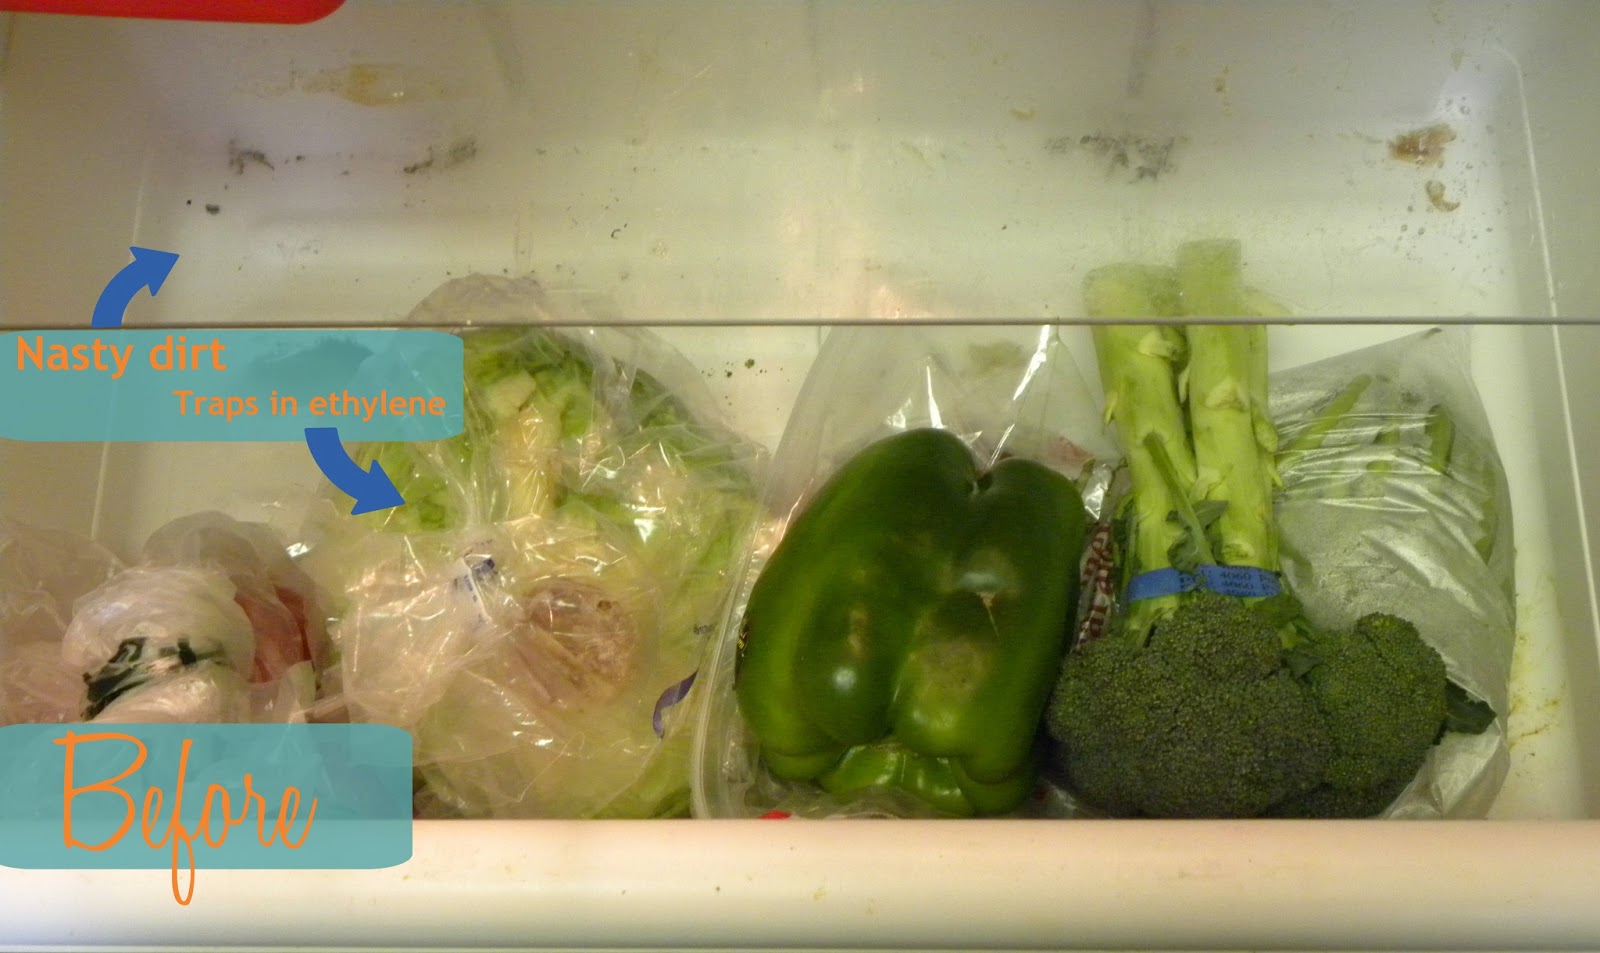
The veggie drawer was so dirty and nasty I honestly wonder how we hadn't gotten sick from the food in there. On top of that, all the wrapped bags promoted ethylene gas build up (which causes food to ripen quicker and therefore go bad faster) so half our fruits and vegetables would go bad before eating all of it. Yeah, major fail!
Because our condiments, toppings, and bad cheese was talking up all the prime real-estate that is the fridge door, the drinks got shafted to the shelves but, because they are too tall for the shelves, they were haphazardly laid there. Oh, and see the plastic bags, yeah, that's pizza dough that was not put in a plastic container like they should have been but plastic bags instead... gotta love the Hubby -.-.

As you can see here, I already had two plastic containers that I was using for greens (they make the most ethylene) and one for meats in my first attempt at getting the fridge more organized and less meat-juice laden but it obviously wasn't enough and I hated how the hubby never knew were things were even when they were in containers.
It is such a relief to be able to find things now. Not just me but Hubby too.... without me having to yell across the house were something is  :P.

After throwing out all the bad cheese, I was left with three small, manageable zip locks of opened cheese (that are still good). Maybe later down the road, I'll find a way to keep them all separate yet together but for now, I am just pleased to have the rest gone and everything else in the fridge in order.
Thanks to two baskets that fit on the shelf; I finally had room to put the drinks where they belong! Since all the cheese was thrown out (but the three good ones) the butter compartment could also finally do its job. With clutter gone, old things thrown out, and space savvy organizing, I even have leftover room that's not used on all three compartments!

Here is where those condiments and toppings went after clearing out the fridge door. The one on the left is toppings and the one on the right is dressings and extras (like jarred olives and cherries).
On the second shelf, I used a basket for the eggs. I know this is unnecessary to some but I hate opening the egg carton after going shopping to find that I only had two eggs left. I already had this basket on hand and figured, while I was organizing things, why not use it to make them more visible. The basket on the right was one I snagged at the dollar tree and popped a chalkboard label on. The best part about the labels is that I don't have to worry about what’s in the basket; if I run out of dairy product to put in it or don't buy any next shopping run (not likely) then I can just wipe it off and change it to whatever will go in there next!

On the bottom shelf I kept the two baskets I already had in there but added labels to make them more visible. I also added in one more basket for veggies that are half used so they take up less room in the vegetable drawer and are more visible so that they will get used sooner.
In the vegetable drawer, I used baskets I already had on hand to separate the fruit from vegetables. Because the baskets are loose, they prevent off-gassing while keeping them dry an off the base of the drawer. The baskets also make things easier to see and, honestly, prettier.
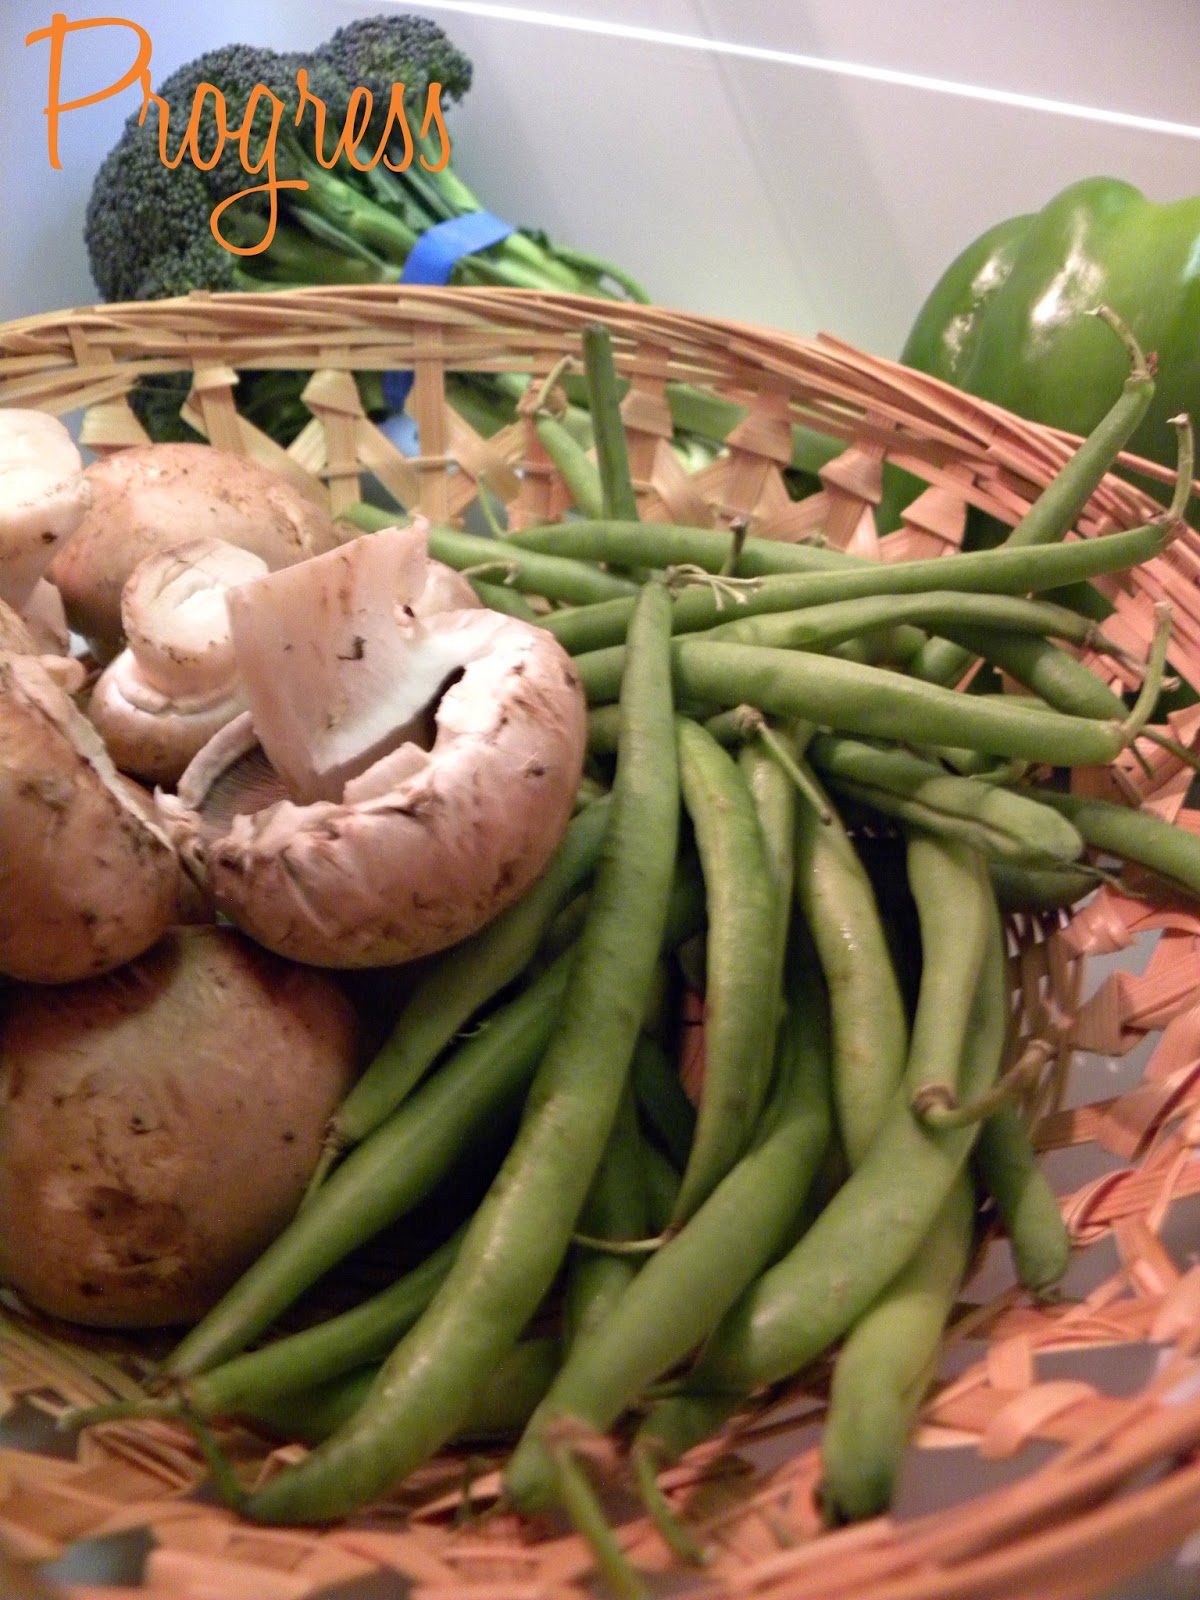
So there you have it, a clean, organized, and most importantly user-friendly fridge.
Here is the price break down
One pack of 15 chalkboard labels -$6
Two small, handled baskets for condiments- $2
One container for greens-$1
A basket for dairy-$1
Two baskets for produce- Free (already had/ given to me)
An egg basket- Free (already had/ given to me )
A container for meat and veggie bits - $2 (already had)
Total : $12!
Here is the before and after side by side... you know, so you don't have to scroll up; because I love Y'all.
Happy organizing!

Friday, May 3, 2013

Elegant Eclectic Wedding

Over the past few days I have been playing around with a few mood board ideas. None really stuck and after getting halfway through three of them and not finishing any I decided to take a different route. Instead of working on an idea of something I decide to work on a real even that is actually coming up. This mood board is for a close friend of mine who's to be married next year. I was so honored to make this for her and hope she really likes it. I pray it personifies her beauty, gentleness, grace, and general personality in every way. I know I truly enjoyed making it and am so blessed to have her as a friend. Rachel, you are going to be a stunning bride and a godly, compassionate wife. I wish you all the joys in the world! <3
1. This stunning dress is from Davin's Bridal 2. The cake was designed by One Sweet Slice 3. Rachel and her fiancĂ© enjoy going to wineries together so it’s only fitting to DIY table numbers on wine bottles and use wine stoppers as name card holders. 4. Roses are a classic wedding flower but these bright yellow ones are far from ordinary and add an amazing pop of color to any table scape. 5. This gray bridesmaid dress is shapes to flatter any and all body types which is great for a bride that has lots of bridesmaids of lots of shapes and sizes. 6. A white bouquet is an elegant and traditional wedding essential; adding wild flowers into it is a clever way to keep with tradition while adding an eclectic feel. 7. This tie would make a normal white undershirt and grey tux really pop while adding in the wedding colors too! 8. Yellow peonies accent bright yellow roses while carrying on the stubble eclectic feel of wild flowers. 9. using the lace from your mothers wedding dress or grandmother's wedding gown makes the moment feel that much more cherished while adding that something 'old' and something 'barrowed'. 10. These adorable wedding favors double as animal safe confetti for after the wedding to throw at the newlyweds. 11. Invitations like this are charming and feel less stuffy they most wedding invites. It adds a laid back feel and is still graphic enough for a keepsake. 12. Comfy, lovely slip-on's are a must for tiered bridal feet after a long day and can help keep the dancing and liveliness going all night!


This was such a fun mood board to make. Thank you Rachel, for allowing me to make this for you. I can't wait to see you walk down the aisle and share such a special day with you.

Thursday, May 2, 2013

Button Two Month Photo Shoot

I love watching this little man grow. It hard to imagine that it has already been a full two months! Button is starting to lift his head up more each day and sits up like a pro.

 Button is starting to loss'n his fists and move his hands more and more each day. Soon enough he'll be waving hi!
 Sleeping is still his favorite past time... apart from crying (he has colic).


 This is by far one of his cutest poses. He loves to soothe himself between tummy time with sucking on his arm. Now, if only he would smile.
Thanks for sharing the photo dump with me. Can't wait until next month to see all the new things Little Man will learn.

Wednesday, May 1, 2013

Spring Pining

BAM! I'm just back to let you all know that this is happening! Let’s spring into it (see how I did that) and get our pining on!

Also, if you pin something please share the link in the comments bar and link up with these lovely ladies so we can all see you creativity.
Stylish Emily from - Sparkle Meets Pop
Witty Kate from- Bower Power
Cleaver Sherry from - Young House Love
Creative Renee from -Red Bird Blue
Since Button is staring to get older I've been most inspired to do something for him and his development. I'm thinking something like one of these.
Can't wait to share whatever I come up with, with you all and to see what you guys think up!
We will all meet up and share our pins on May 8th (a week from now) so check in then to find out which inspiration I decide on using.


Ps. Pinterest does not sponsor me or any of these other amazing ladies or fund us in any way to partake in this. We are just a few gales who actually LIKE a challenge. Drink'n the crazy-aid, I know. If you don't yet know what this is check out my first pinterest challenge post.

Flourishing with Vigour

It is amazing how in such a short amount of time so much can happen. Just a month ago my little sprouts were just starting to pop up from the ground. Now they are flourishing with such vigor.


I hope to heed the advice of my garden, to take each day as it is, to strive to better myself each moment I get, and to not allow the rains to ware me away but nourish me and grow me in some way. How exciting it will be to reap the fruit of my labor... literally! :D
May your day be filled with flavor, growth, and warmth?


Ps. I also have cucumber, pepper, chive, cabbage, lettuce, and strawberries growing but I thought it might be a little heavy on the photos. After all, one can only take so much green... unless it’s the kind in your pocket ;)

Sunday, April 28, 2013

Spring cleaning {organizing a bathroom cabinet}

 I'm going to try doing a "Spring Cleaning' series on here for you all. So far I have done one project and am currently working on two more. Cleaning out and organizing our upstairs bathroom was first on my list.
It was a hot mess!

 Checking off this task was a major feat for me. I have been procrastinating on cleaning and organizing under the sink since before we moved in seven months ago! So to be able to finally mark this as 'done' is a pretty nice accomplishment on my part. It also really puts me in the spring cleaning mood.
 There was a bunch of random stuff in there and some things I didn't even know I had tucked away in the back (like a brand new bag of cotton balls and some night time eye cream!)

   A little arctic critter even decided to call this space home : p
How a toy penguin got under my bathroom sink is beyond me but one thing was for sure, the little dud had to go.

   Here is a view of the other side before organizing it... you know, just in case the right side didn't make you cry.

After clearing it all out, sorting everything into piles of what went with what and what needed to be thrown out or moved; and of course a quick run to the dollar store for some cheap organizing stuff, this is what I ended up with.
This is the right side. I even put a nail head that was under there to good use by using it to hang a back scratchier (which was to long to fit in the proper box) on.
In the front (1-3) I used smaller containers that can be staked to store like items together that are used the most often. Because I can stack them and they are smaller I can get to them easier and not have to pull out a big heavy bin. After all, the whole point of organization is to make life easier right.
1. Face wash and night creams
2. Feminine products
3. Hair supplies

 In the back I used two larger bins for more general items. This one is for 'spa' supplies (lotions, foot massage, eye masks, etc.) This way I can store larger items (like my waxing kit) in an area with items I might use at the same time without have 100 little boxes of overly specific items and having to get out three or four little boxes. Remember, it should make life easier not harder and more complicated.
 In this one I put all our medical supplies. We do have a medicine cabinet but I like to use it for more frequently used medication such as tums and daily used things that are ugly left out (like tooth brushes and mouth wash). In this bin I put all the medical supplies that are used less often and/or are too bulky to fit in the medicine cabinet.
 On the left is Hubbies shaving basket, because if I put it in a bin he would never find it, (got to make organizing easy for every one :D) along with a nice little toilet paper basket. We order things like toilet paper in bulk because 1. It’s cheaper and 2. I don't like buying things like toilet paper and tampons at the store. Yep, totally one of those weirdoes. The only down side is I have to find a place to put like 20 rolls of toilet paper until it’s mostly used up. Having a cute basket like this that I can stake them in is a big help!

The blob behind the basket is our old shower curtain. We currently only have one shower so it’s being stored under here until we move and have more than one full bath.
 So there you have it. A spiffy, clean, organized cabinet under the sink!
Here is the cost break down:
Three small (brown) close-able containers - $1
One small, open container (for easier access) - $1
Two large bins- $2
One large basket (for toilet paper)-$1
One small, easy to access, open basket (for Hubby's stuff)-$1
Total: $6!
Who said you have to spend big bucks on fancy organizing gadgets to get life in order?! Certainly not this cheap thrifty gal!
 Oh, and just in case you forgot... this is what it looked like before.
Eww! Yeah, so happy that's done!

So, what have you guys been up to this spring? Any spring cleaners? how about gardeners? Or do you have a method to you madness?

Friday, April 12, 2013

Button's One Month Photo Shoot

It was so much fun doing this shoot. I hope to be able to do a photo shoot for Button each month. I have seen a lot of people doing one week photo shoots but honestly, that is asking a lot of me right now. Juggling the house, garden, pets, Button and photo shoots might push me over the sleep deprived/ sanity edge. So, I'm going to strive for something I know I can stick to and that's one session a month. I'm not sure about how I'm going to tie them together, or if I will even bother but for now I like the idea of just doing a fun session with my little man each month. May that be in his room, at the park, or around the house, I just want to capture the things that change as he grows, like his smiles, sitting up, crawling, and walking. It will be nice to focus more on Button and his life in each shoot rather than the props, set up, and backgrounds like most children photo sessions seem to do. Well, here is all the eye candy I know you wanna see. <3